Live Systems
Building a Bootable Diagnostic USB
A rescue stick built in a hurry on a broken machine is the wrong time to learn the procedure. Build it now and verify it now.
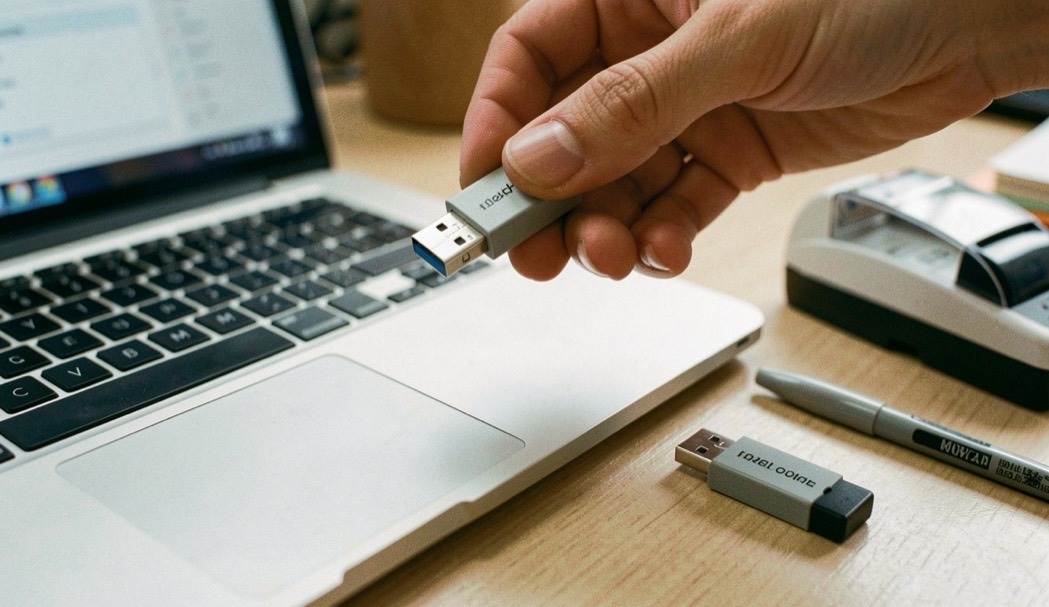
A diagnostic stick is written once and then trusted for years, and the trust usually lands in the wrong place: the moment the writing command returns. A clean exit says the buffers accepted the data. It says nothing about whether the data reached the medium, or whether the device named in the command was the device meant to be erased.
What a finished write command does not prove
The page this desk leans on opens with a warning that has nothing to do with tools: get the image from the project that publishes it and verify its integrity before following any step. That happens before anything touches a port. The other half is the half that gets skipped. Every write method on that page ends the same way: run sync with root privileges after the command, so the buffers are fully written before the stick leaves the port. An image pulled early can look complete in a file listing and still fail at boot, which this desk files next to what a memory pass covers: a clean result covers exactly what was exercised, and nothing more.
The result is a live system the page describes as good for installing, maintenance or recovery, one that discards every change at shutdown because its root runs on Overlayfs. On a diagnostic stick that discard is not a defect. It is why a diagnosis runs live at all.
A system that throws away every change at shutdown sounds like a limitation. On a diagnostic stick it is the design.
Which device is about to be erased?
A raw write treats the whole device as a destination and asks no second question, which is why the documentation spends its first instructions on naming the target rather than on the writing tool. On Linux the advice is to identify the drive by its entry under /dev/disk/by-id/usb-* and to check with lsblk that it is not mounted. Naming the wrong node erases whatever actually holds that name, along with everything on it, and the page carries a tool built for exactly that risk: xorriso-dd-target, a shell script described as an attempt to reduce the risk of overwriting the wrong storage device, with a plug-test mode as its safest setting. macOS asks for the same discipline by hand: list the drives with diskutil, then confirm the candidate by name and size before its identifier goes near a command.
Five commands for the same write
The Arch Wiki documents the write for its own installer image, and its page on the USB installation medium recommends doing it as is on GNU/Linux, for the simplicity and universal availability of tools that come with coreutils, pulled in by the base meta package. Five commands are shown, all aimed at the same device node.
| Command | Shape of the write | What the page notes |
|---|---|---|
| cat | Streams the ISO onto the device node | Faster than dd when the splice system call is supported |
| cp | Copies the ISO onto the device node | No note of its own |
| dd | Copies in fixed blocks, shown with fsync, direct output and a progress display | Linked to a comparison asking why dd may be the least adapted of the set |
| pv | Pipes the ISO, with a sync option on the output | No note of its own |
| tee | Reads the ISO on standard input and writes the device | No note of its own |
The last column is the part worth a second read. In practice dd is the reflex, and this page is where the reflex gets its challenge: it links a comparison asking why dd may be the least adapted of the five, and it notes that cat, when the splice system call is supported, is faster. By how much, the documentation does not publish that figure. What it offers all five equally is the exit routine, sync.
What does each platform add to the risk?
Windows attaches drive letters to partitions rather than to disks, so the dd build used there carries an extra parameter to address the entire disk, one the page marks as specific to that build and absent from every other dd. The command-line route there also runs through flashnul, which wants a typed yes before writing and reports access denied while Explorer windows hold the drive open. Among the graphical writers, Rufus is presented as indifferent to whether the target is properly formatted, and win32diskimager may need the drive formatted first just to receive a letter, and a format wipes what is on the drive.
macOS asks for an unmount and not an eject before the block write, and its dd is the BSD one: the block-size suffix is lowercase where GNU takes uppercase, the r before disk selects the raw device for a transfer the page calls much faster, and the identifier must not carry the s1 suffix, because a stick written that way boots in UEFI mode only and never in legacy. When the write ends, macOS may announce that the disk just inserted is not readable; the page's answer is to select Ignore, and the stick is bootable.
Android enters through EtchDroid, which writes images without root permissions since Android 5, over a USB-OTG adapter if the drive needs one. The advice attached to it is physical: keep the phone on a table while the image writes, because many OTG adapters are wobbly and an accidental unplug stops the write mid-image. One writer on the page crosses all three desktop platforms and is the only one described as verifying what it writes: USBImager.
When the stick boots halfway, what moved?
The first remedy for a UEFI stick that hangs or fails to load is not a firmware change but a rewrite: repeat the medium creation on the same drive, once or several times, and only then consider updating the motherboard's firmware. That ordering carries information. The likeliest fault sits in the write, and rewriting tests it before anything inside the machine gets touched.
Provenance belongs to the same half of the job. With KDE ISO Image Writer the page recommends the .sig file for the signature and notes that the step can be skipped by clicking create. A check placed one click away from its own bypass is worth naming, because the bypass is designed to be easy.
Formatting instead of writing
A second family of methods keeps the stick usable for storage: on a one-partition layout, ordinary files can share the partition the ISO lives on, which the page calls the best layout for compatibility with other operating systems. For UEFI-only machines the image is never written at all. Extracting the ISO's contents onto a FAT-formatted drive is enough, because UEFI boots any FAT volume from a flash drive with no dedicated EFI system partition, and the page calls an MBR table with a single active primary partition of type 0c the most compatible setup. The extraction is a format to FAT32, which erases everything already on the partition, then a mount, bsdtar against the ISO, an unmount; on Windows the same result comes from mounting the ISO, copying everything across and ejecting both.
Ventoy's documentation describes a third route: install the tool once, then copy ISO files onto the drive and boot them, with no reformatting between images. What its page publishes is that pitch, and nothing here extends it.
Which image goes on the stick is a separate question from how the stick gets written. This desk is not the Overclockix project and serves no images of it. The project began in 2003 on a Knoppix base, went quiet from 2005, resumed in 2011 on a Debian base, and its last published release is 7.8.0, dated June 1, 2015, according to DistroWatch. Its source lives on GitHub, and the Overclockix release record is what this site keeps.
The order the checks go in
- Get the image from the project that publishes it, and verify its integrity before anything else.
- Name the target by what stays put: the by-id entry on Linux, name and size on macOS.
- Confirm the target is quiet: not mounted on Linux, unmounted rather than ejected on macOS.
- Pick the writer for the safety it offers, a plug-test mode on a doubtful device list.
- Let sync finish with root privileges, and only then pull the stick.
Where this goes wrong
The target named is not the target meant. On Windows a letter reaches a partition rather than the disk, and a raw write to the wrong node erases whatever lives there.
The stick leaves the port before sync returns, and an image that boots halfway gets blamed on the machine under test.
An s1 suffix survives into the macOS identifier, and the stick boots in UEFI mode only, which reads as a dead legacy boot on the machine it was built for.
Write the image, let sync return, and boot the stick in the machine that needs the diagnosis rather than the one that built it. Everything that stick then reports rests on the write having been whole, which is why the checks above come before the boot, not after it.
The source page. ArchWiki publishes "USB flash installation medium", the page cited above. It collects multi-platform methods for writing an installer USB for BIOS and UEFI machines, describes the live system that discards its changes at shutdown, and links related pages on multiboot USB drives, disc burning and archiso, with chroot offered for rescue use. Where one of its claims carries no figure behind it, this article says so rather than supplying one.